Luminium-Sphere is the 14th main level in Super Mario 74 and requires 85 stars to access. Just like the level before it, it is located in one of the star doors atop the temple in Overworld 3.
The "sphere" levels are all technically the same layout (including the two in Super Mario 74: Extreme Edition, the one in Lug's Delightful Dioramas and the one in Lug's Tiny Torture), though each one is flipped a different way. Since this is the first, the castle is positioned right side up. The level itself is, according to a sign, a "giant mechanical sky temple of light". The light caused by the sun is apparently due to the Kubus of Light, which is located near the center of the stage. This divine cube not only the source of energy for the sun in this game, but in "all video game suns in existence". These levels ("Spheres") have also been regarded as having a huge spike in difficulty from the levels before hand, as all the difficult jumps Mario must perform are over death and the paths to the stars are not clear. Every star in Luminium-Sphere will test Mario's wall kicking skills to his limit. In the sequel, Super Mario 74: Extreme Edition, several sections of the fortress are quicksand and lots of fire and homing amps, making the last two courses of the remake truly difficult to navigate.
Levels[]
Star 1: Tower of the West[]
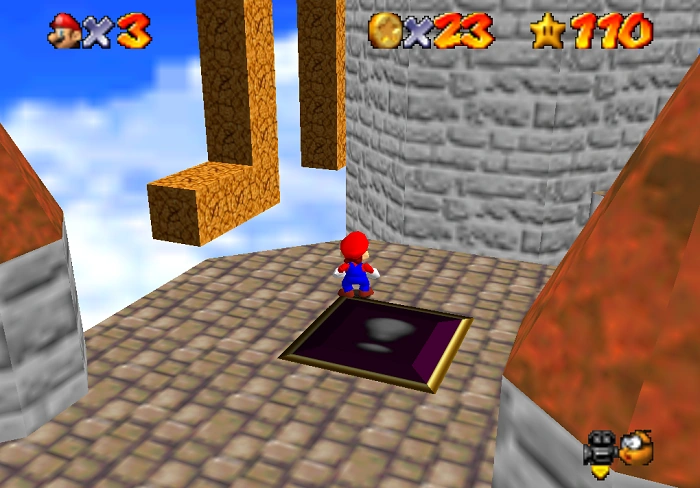
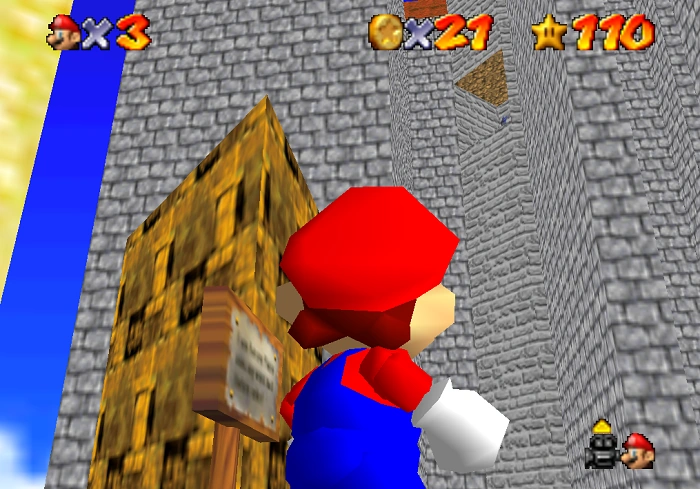
Mario must reach one of the high towers of the palace and then use a timed switch button to ascend it using difficult wall kicks. Mario starts in the dead center of the castle, surrounded by paths by all four sides. Start by climbing the tan wall directly in front of Mario, which is past the sign. From the top of this wall, Mario must wall kick to the top of the next wall. This can be done by doing an angled jump on the side towers. Alternatively, Mario can drop down to the platform bellow and performing a triple jump to ascend the wall, but from this platform, Mario must wall kick up a grey tower to reach the section required. Walk all the way to the left end of the wall and follow the path to a purple "!" switch. From this a tricky looking set of blocks will spawn off the edge. Mario must break a couple of the blocks to make a space to long jump and wall kick off the two sets of blocks. If you make it to the top, quickly jump to the ledge of the tower before the blocks disappear and claim the star.
Star 2: Jumping Maestro[]
Mario must using his jumping skills in order to reach this next star. Start by ascending the wall in front of him again, but instead of going left on top, jump to the big grey platform with the cylindrical pillars and a fly guy on it. If you wall kicked up from the bottom platform, this is the area you jumped to originally. From here walk to the right most tower. Mario must use angled wall jumps to reach the top of the tower. These jumps are tricky since you need to jump from the platform onto another on connected to the tower on top. From the top walk behind the tower and jump on the floating rock and look in between the two yellow castle walls. Mario needs to long jump to the far one and then proceed to do a series of wall kicks to reach the top of the CLOSEST one, though you can long jump to the other wall from the top.
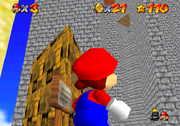
Star 3: Bottomless Fortress[]
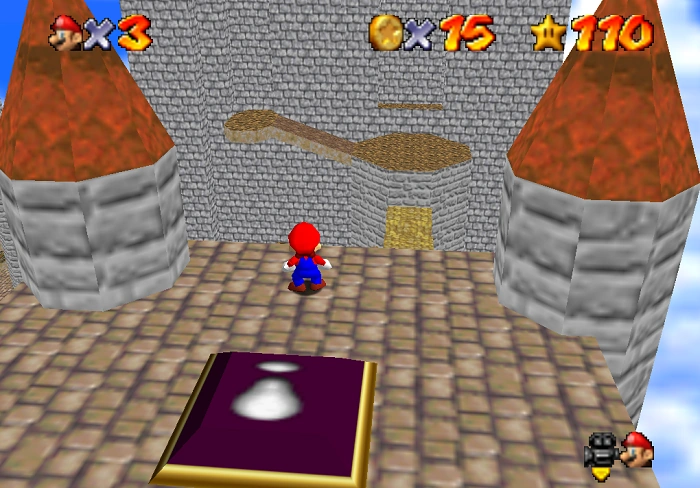
Looking at the entrance that leads under the fortress.
Mario must again use his wall kicking skills to get through a gauntlet to reach the star. Wall kick from the top of the first wall to reach the left tower of the castle. From here, follow the path and then long jump to yellow wall across from it. Pass the Kuromame and jump into the hole in the grey wall. From this ledge look to your right, and you should see another ledge that Mario can long jump to. Before you make the next jump, make sure you have at least 5hp. Now, Mario must perform a wide angled long jump to the next wall, then wall kick off that, through the passage, in order to fall on some tan blocks quite a distance away. In order to get higher from here, Mario must perform triple jump wall kicks and then grab the edge of the next two blocks. However, this method will next work for the next one (indicated by an easy to see slope in front of you and the ability to see the tan roof during the last jump). To reach the next block, Mario must wall kick off the left side of the wall to get enough height. He must then do it again to reach the top of the Bottomless Fortress.
Star 4: Behind the Wall[]


Looking behind the wall.
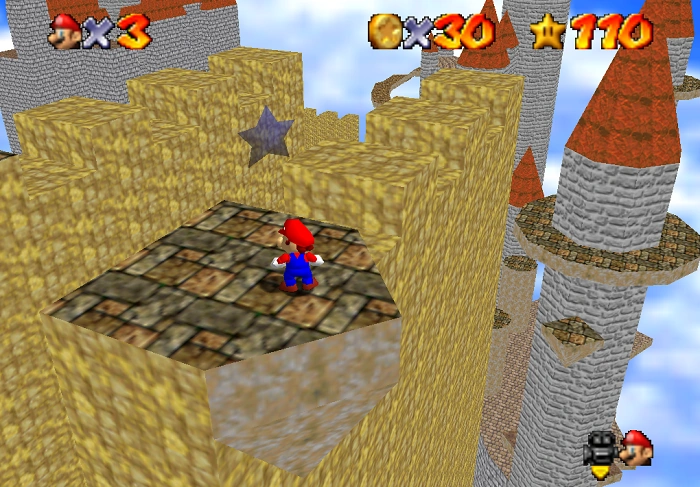
From the top of the first wall, instead of taking the left passage to star 1, head to the right side of it and follow that path. This will lead Mario past some jumps on the side of one of the many walls of the fortress. When you reach the end turn backwards and head Behind the Wall. Jump onto the singular platform, and then long jump to the grey wall and wall kick up it. On top of the this is another wall which has a star on it.
Star 5: Treasure-Tower[]
In front of the Kubus looking up the tower.
Instead of going up the wall in front of Mario, head towards the Kubus behind him. Once near it, head towards the small cave in one of the pillars with a red coin in it. From here Mario must perform an angled long jump to a grey wall in the air next to it Wall kick until you make it to the cave where the star is. Beware, as hitting the very top of the wall is a sloped roof and will kill you.
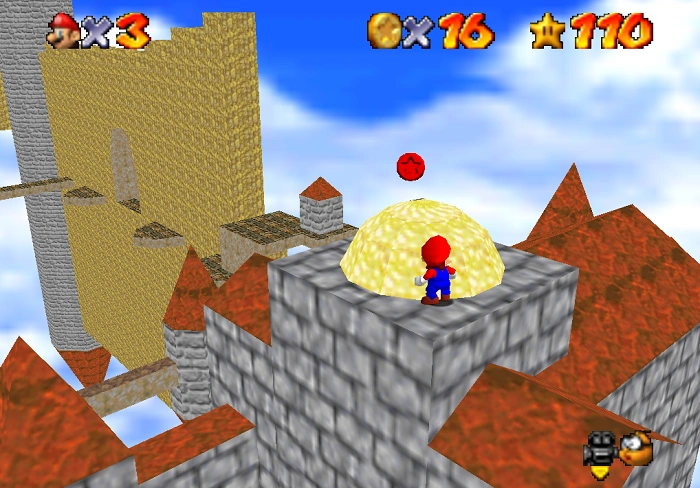
Star 6: Red Frustration[]

Above where the Red Coin Star Spawns.
In this level, Mario must collect 8 red coins scattered throughout the level. None of the coins are located in any of the gauntlets leading to the stars. The locations are as follows:
- On a floating pillar to the left of the start. On the other side is the Blue Coin Switch
- On a platform above the Crazed Crate behind the start. Wall kick off the stone walls to reach it.
- In a small cave next to the Kubus of Light
- On a floating tower next to the platform with the Fly Guy and Lakitu (go to the wall in front of the start and jump down then Wall Kick up it using a triple jump, then head right)
- On top of a tower which is across from the last coin. Mario must use wall kicks to reach the top. LOOK FOR ANOTHER RED COIN WHILE UP HERE!
- From the last coin, Mario should be able to see and long jump to the platform with the red coin on it and then wall kick to grab the ledge.
- From the top of the first Wall, follow the right path past where Star 4 was. BEFORE the next thin path there is a square with a roof on it. The coin is behind this.
- From here, jump across the path and through the Chuckyas. Mario must use the Fly guy to glide to the top of the building where the coin is. If the Fly Guy dies, Mario must do a triple jump and then immediately jump to the roof before sliding off.
When Mario collects all 8, the star appears in the building where Coin 8 was, at the end of the right path from the first wall.
Song[]
The Song for Luminum Sphere is Stone Tower from the Legend of Zelda: Majora's Mask
Enemies[]
- Goomba
- Fly Guy
- Lakitu
- Whomp
- Kuromame
- Chuckya